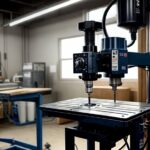
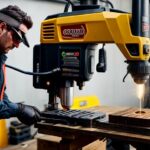
If you prefer precise drilling and enjoy DIY projects, you understand the value of a decent drill press table. A solid and dependable table assures accurate drilling and makes your job simpler and safer. But have you ever thought of installing a dust-collecting system on your table?
While drilling, dust and debris may be a huge concern, causing a mess and possibly harming your health if breathed. This blog article will teach you how to make your DIY drill press table with a dust-collecting system.
You will not only have a custom-made table to meet your specifications, but you will also be able to work in a clean and safe atmosphere. Now let’s get this party started!
 Advantages:
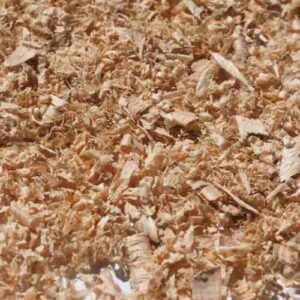
- Better Air Quality: Drilling releases microscopic dust and debris particles into the air, which may harm your health if breathed. A dust collection device may assist in capturing these particles and improving the air quality in your workstation.
- Less Mess: The dust and debris generated while drilling may be a nuisance, making cleanup difficult and damaging your instruments or work area. A dust collecting system helps keep your workstation clean and organized by reducing this mess.
- Improved Visibility: By lowering the quantity of dust and debris that gets in the way, a dust-collecting device may aid in increasing vision while drilling. This may help you see what you’re doing and increase the precision of your drilling.
- Longer Tool Life: Dust and dirt may accumulate on your tools over time, causing wear and tear and shortening their lifetime. A dust-collecting system keeps your tools clean and clear of contaminants, which may help them last longer.
- Safer Work Environment: Inhaling dust and debris may harm your health, especially when dealing with specific materials. A dust collecting system aids in the reduction of dust and debris in the air, making your workplace safer and healthier.
Materials and Tools:
List of necessary materials for the project:
- Plywood or MDF (Medium Density Fiberboard) – for the top and base of the table
- T-track system – used to secure workpieces and jigs
- T-bolts and knobs are used for adjustable hold-downs.
- Fence material (for the table fence, for example, hardwood or aluminum extrusion)
- Dust collecting port – for use with a shop vacuum or dust collector.
- Hinges – used to secure the fence to the table.
- Wood screws and glue are required for assembly.
- Sandpaper is used to finish the table’s surface.
- Optional: Laminate sheet or melamine – for a smooth and long-lasting tabletop.
- Optional: Insert plate to accommodate various drill press size
List of necessary tools for the project:
- Cutting plywood or MDF using a circular saw, table saw, or handsaw
- Drill – used to drill holes and drive screws.
- Drill bits are used to drill holes.
- Jigsaw or router – to make the insert plate opening
- Screwdrivers – for installation
- Clamps are used to keep parts in place during assembly.
- Carpenter’s square – used to ensure straight cuts and assembly.
- Ruler or tape measure – for measuring
- Measurement pencil or marker
- Router with a straight bit – optional for cutting T-track slots
Safety equipment:
- Eye protection against dust and particles using safety glasses
- Ear protection – to keep your hearing safe from harsh sounds.
- Dust mask or respirator – to keep dust out of your lungs.
- Work gloves – to keep your hands safe when cutting and assembling.
- Slip-resistant shoes – to avoid sliding on sawdust or debris.
- First-aid kit – for small injuries that may arise throughout the job.
How to install the dust collection system?
- Choose a dust collection port: Pick one suitable for your shop vacuum or dust collector hose. The port should include a flange or mounting plate for simple connection to the table.
- Find the best placement for the dust port: Locate the best location for the dust port on your drill press table. It should ideally be positioned near the drilling area to gather dust and debris effectively. One popular position is near the drill bit on the fence so that the dust collection system can gather debris as it is formed.
- Cut the dust port hole: Depending on the location, outline the dust port on the fence or the table. To ensure a tight fit, make the hole slightly smaller than the flange of the dust port. To cut the hole, use a jigsaw, or a hole saw coupled to a drill.
- Attach the dust port: Wrap a bead of silicone sealant or construction glue around the dust port’s flange. Make sure the dust port is firmly inserted into the hole. Attach the dust port to the fence or table using screws or bolts. If you’re connecting it to a fence, use hinges to enable the fence to adjust while keeping the dust port connected.
- Connect the dust collection hose: Connect the dust port to the hose from your shop vacuum or dust collector. Ascertain that the connection is secure and airtight. You may need to use a hose clamp, adaptor, or duct tape to seal the hose and dust port tightly.
- Test the dust collection system: Start the shop vacuum or dust collector and drill a few test holes to confirm the dust collection system is functioning properly. Adjust the hose or dust port location as needed to increase dust-collecting effectiveness.
- Keep the dust collecting system in good working order: Clean and examine the system regularly to guarantee its effectiveness. When the shop vacuum or dust collector is full, empty it and clean or replace the filters as required.
How to use the table safely and effectively?
- Read the manual: Familiarize yourself with the drill press manufacturer’s instructions and safety requirements. Learn how to use and the limits of your particular drill press model.
- Use safety equipment: While using the drill press, always wear safety glasses, ear protection, and a dust mask or respirator. Wear suitable attire and avoid wearing anything that might get trapped in the drill press. Before you begin, tie back your long hair and remove any jewelry.
- Examine the drill press and table: Check for any loose, broken, or worn components before utilizing the drill press table. Tighten any loose bolts and, if necessary, replace or repair damaged components.
- Secure the workpiece: Always use T-bolts, clamps, or other suitable holding mechanisms to secure the workpiece to the table. This will prevent the workpiece from moving or rotating while drilling, lowering the danger of harm.
- Adjust the fence: Align the fence with the workpiece to guarantee precise drilling. Check that the fence is parallel to the drill bit and square to the table.
- Pick the right drill bit: Choose the drill bit for the material and hole size. Check that the drill bit is sharp and in excellent working order.
- Install and adjust the drill bit: Install and adjust the drill bit according to the manufacturer’s instructions. Before beginning the drill press, ensure the bit is firmly secured in the chuck and the key removed.
- Determine the right speed for the material and drill bit size by consulting the drill press handbook or a drilling speed table. Set the drill press speed according to the manufacturer’s recommendations.
- Use effective drilling techniques: Let the drill press reach maximum speed before carefully dropping the drill bit into the workpiece. Apply consistent, even pressure on the bit without driving it into the material. Keep your fingertips away from the drill bit and be cautious of your hand positioning.
- Keep the drill press table clean: Keep the table and T-tracks clean and clear of dirt. Inspect the table for wear and damage regularly, and adjust or replace components as required.
- Always switch off the drill press and wait for it to stop completely before adjusting, replacing bits, or removing the workpiece.
Frequently Asked Questions (FAQs)
1. Can I use any type of plywood or MDF for my drill press table?
Yes, you can use any type of plywood or MDF for your drill press table. However, it is recommended to use a high-quality, flat, and stable material to ensure a durable and accurate table. Some people also prefer using laminated plywood or MDF for a smoother and more resistant surface.
2. How do I determine the right size for my drill press table?
The right size for your drill press table depends on your specific needs and the available space in your workshop. Measure the existing table on your drill press and consider the size of the workpieces you usually work with. Make sure to leave enough room for the fence, T-tracks, and dust collection system.
3. Can I use a shop vacuum instead of a dust collector for my dust collection system?
Yes, you can use a shop vacuum instead of a dust collector for your dust collection system. Both options can effectively remove dust and debris from your workspace. However, a dust collector is generally more powerful and better suited for larger workshops or continuous use.
4. How often should I clean and maintain my dust collection system?
The frequency of cleaning and maintaining your dust collection system depends on how often you use your drill press and the amount of dust generated during your projects. It is recommended to inspect the system regularly and clean or replace filters as needed. Empty the shop vacuum or dust collector when full to maintain optimal performance.
5. Can I add a dust collection system to an existing drill press table?
Yes, you can add a dust collection system to an existing drill press table. You will need to choose a suitable dust port, find the best placement for it, and attach it to the table or fence. Then, connect the dust port to your shop vacuum or dust collector hose and test the system to ensure it is functioning properly.
Final words:
Happy drilling, everyone! Finally, creating your own DIY drill press table with dust collection is an excellent method to improve your woodworking experience while keeping your workshop clean and tidy. You may design a functioning, personalized table that will increase the precision and efficiency of your drilling chores by following the methods and safety precautions described in this article.
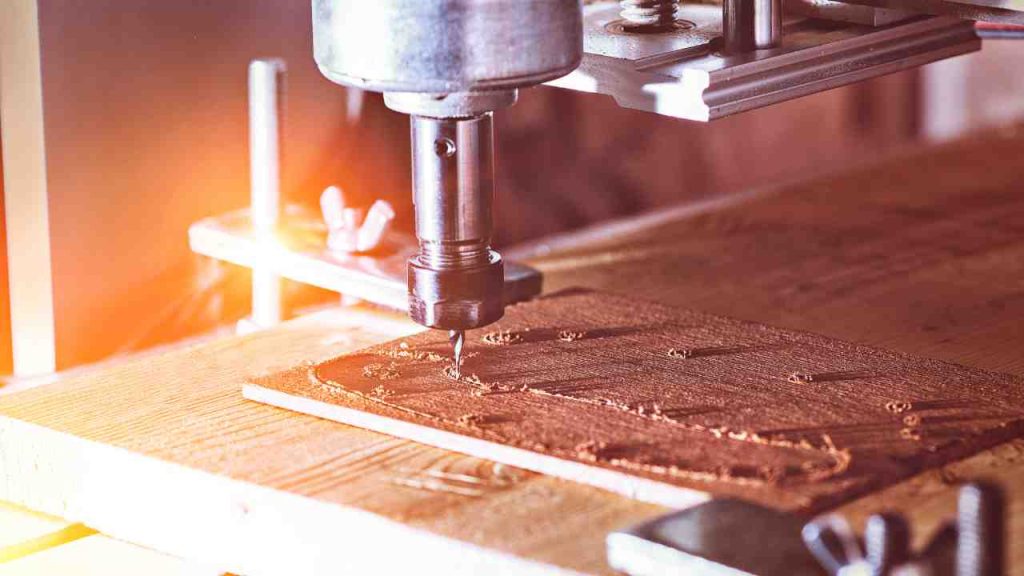 You will not only have a dependable workstation adapted to your demands, but you will also reduce airborne dust and debris, making your workshop a safer, healthier environment. So, roll up your sleeves, collect your supplies, and prepare to improve your woodworking game with this must-have addition to your shop.
- Where are WEN drill presses made? - April 2, 2023
- Where are Rikon drill presses made? - April 1, 2023
- Where are Powermatic drill presses made? - April 1, 2023


