Have you ever wanted to drill an angle hole but found it difficult to do so accurately? Angled holes are often used in woodworking, metalworking, and other home improvement applications. These may, however, be easier to produce with the right equipment and skills.
A drill press comes in helpful here! A drill press allows you to drill accurately angled holes with ease. In this article, we’ll walk you through drilling angled holes using a drill press, including tips and methods to help the operation go as smoothly as possible.
Whether you’re a seasoned carpenter or new to DIY, this article will teach you how to handle angled holes like a master!
 Why is it necessary to drill angled holes?
Angled holes may make strong connectors between components when dealing with wood. Angled holes, for example, may be used to connect the legs to a chair or table frame.
Angled holes may route cables, wires, and pipes through walls or other buildings. This is a regular occurrence during house renovations or building projects. Angled holes may also be used for ornamental reasons, such as producing beautiful patterns or motifs in wood or metal.
How do you drill on an angle on the drill press?
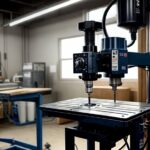
Step 1: Setting up the drill press
- Change the table angle: The table on most drill presses is adjustable and may be tilted to the appropriate angle. Loosen the locking mechanism on the table’s bottom and adjust it to the desired angle. Check that the table is firmly fastened.
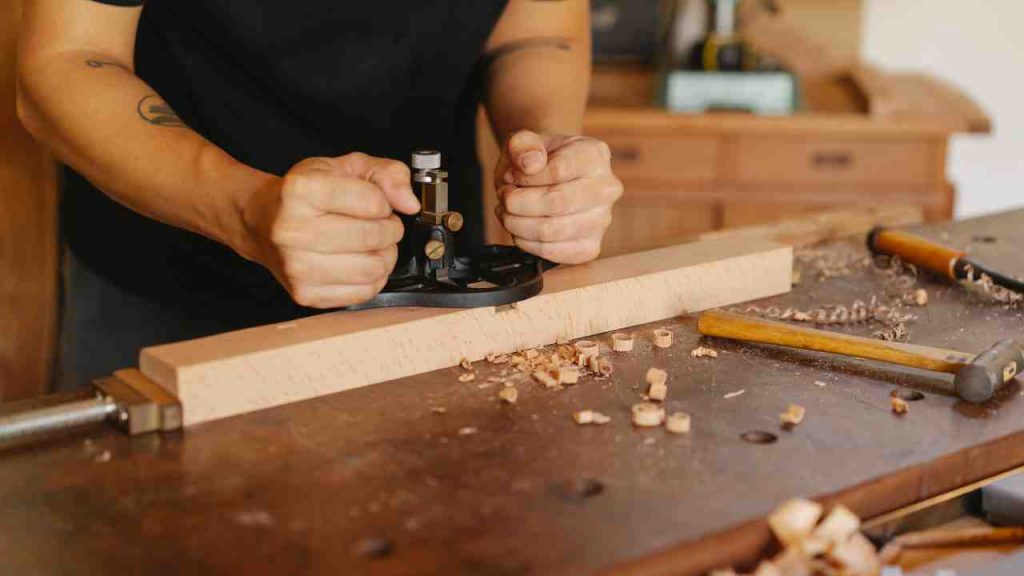
- Put the workpiece on the table, ensuring it is properly fastened or held in place. Positioning the workpiece so that the drilled section is exactly beneath the drill bit is critical.
- Mark the hole position: Mark the hole’s location on the workpiece using a square or protractor. Use a drill press vise or clamp to keep the workpiece in place while marking for the best results.
- Choose the appropriate drill bit: Choose a suitable drill bit for the material you’re dealing with and ensure it’s the proper size for the hole you need to drill.
- Set the drill depth and speed: Adjust the depth stop on the drill press to regulate the hole depth. Adjust the drill press to the correct speed for the material being drilled.
- Start the drill and apply consistent pressure to the workpiece to drill the angled hole. When drilling begins, maintain the drill bit perpendicular to the workpiece. Drill the hole slowly and carefully, removing the drill bit after the hole is complete.
Step 2: Marking the position of the hole
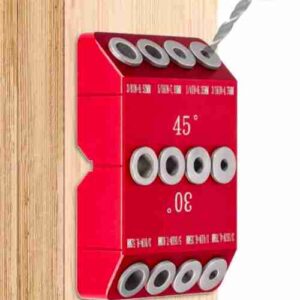
- Use a square or protractor to determine the required angle for the hole.
- Using a pencil or marking instrument, indicate the position of the hole on the workpiece.
- Use a drill press vise or clamp to keep the workpiece firmly in position during marking.
- Before drilling, double-check the correctness of the mark.
- A template or jig guarantees consistent hole placement while drilling many angled holes.
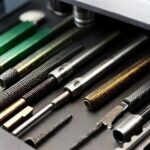
Step 3: Selecting the Correct Drill Bit
- Choose the material you’ll be drilling into, whether wood, metal, or plastic.
- Choose a drill bit suitable for your job, such as high-speed steel, cobalt, or carbide.
- Choose the suitable size drill bit for the hole you need to drill.
- Use a bit with a sharp tip for angled holes so that drilling begins precisely at the indicated spot.
- For a cleaner finish, use a countersink bit to produce a beveled edge around the hole.
Step 4: Adjusting the depth and speed of the drill
- Calculate the required depth of the hole and appropriately set the depth stop on the drill press.
- Use a depth gauge or tape on the drill bit to indicate the required depth for exact readings.
- Adjust the drill press to the correct speed for the material being drilled. The manufacturer’s instructions or a drill speed chart might be useful in finding the right speed.
- Avoid excessive speed or pressure while drilling to avoid overheating or damaging the drill bit.
- To attain the desired results, make minor modifications to the depth or speed of the drilling.
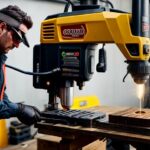
Step 5: Making an angled hole
- Start the drill press and place the drill bit on the workpiece where it has been designated.
- Once you begin drilling, apply consistent pressure to the workpiece using the drill bit, being careful to maintain the bit perpendicular to the workpiece.
- Drill the hole slowly and carefully, keeping a constant speed and pressure throughout.
- After attaining the appropriate depth, remove the drill bit cautiously to avoid damaging the workpiece orbit.
- Smooth the edges of the hole with sandpaper or a file if required for a polished appearance.
Tips:
- To guarantee clean and accurate holes, use sharp drill bits. Rough edges or splintering in the workpiece may be caused by dull bits.
- Operate slowly and lower pressure to avoid overheating or damage to the bit and workpiece.
- To eliminate waste and avoid buildup, clean the drill bit and workpiece regularly.
- To guarantee the accuracy, double-check your measurements and marks before drilling.
- Before drilling on your final item, practice on scrap wood or metal to acquire confidence and refine your technique.
- Use a drill press vise or clamp to keep the workpiece in place while drilling firmly.
- Consider utilizing a drill press jig or template for repeated or difficult angled hole drilling.
- To avoid injuries from flying debris, use safety eyewear and protective clothing.
Frequently Asked Questions (FAQs)
1. Can I drill angled holes with a handheld drill instead of a drill press?
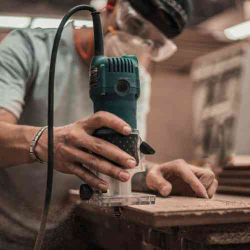
Yes, it is possible to drill angled holes using a handheld drill, but it requires more skill and precision. A drill press provides better accuracy, control, and stability when drilling angled holes compared to a handheld drill.
2. How do I determine the correct angle for my angled hole?
You can use a protractor or a square to measure and set the desired angle on your drill press table. If you have a specific angle requirement for your project, you can also refer to project plans or consult with an expert.
3. What type of drill bit should I use for drilling angled holes in different materials?
The type of drill bit you should use depends on the material you are working with. For wood, use brad-point or spade bits; for metal, use high-speed steel, cobalt, or carbide bits; and for plastic, use plastic-cutting bits.
4. How can I ensure the accuracy of my angled holes?
To ensure the accuracy of your angled holes, double-check your measurements and marks before drilling, use a drill press vise or clamp to secure the workpiece, and practice on scrap materials before working on your final piece. Additionally, using a template or jig can help maintain consistency when drilling multiple angled holes.
5. Can I use a drill press to drill angled holes in materials other than wood?
Yes, you can use a drill press to drill angled holes in various materials, including metal and plastic. Just make sure to use the appropriate drill bit for the material and adjust the drill press speed accordingly.
6. What safety precautions should I take when drilling angled holes with a drill press?
When drilling angled holes with a drill press, always wear safety eyewear and protective clothing to prevent injuries from flying debris. Operate at slower speeds and lower pressure to avoid overheating or damaging the drill bit and workpiece. Also, ensure that your work area is clean and free of any obstacles that could cause accidents.
Final words:
Drilling slanted holes with a drill press may seem overwhelming initially, but with the appropriate techniques and advice, it is possible to do it easily and accurately.
You can obtain the correct angled hole every time by changing the table angle, aligning the workpiece, marking the hole site, selecting the proper drill bit, setting the drill depth and speed, and drilling the angled hole with steady pressure.
To enhance your abilities, use sharp drill bits, operate at slower rates, clean your equipment regularly, and practice on waste materials. With these methods and equipment, you can take your woodworking, metalworking, or DIY projects to the next level, resulting in remarkable, professional-looking final products.
- Where are WEN drill presses made? - April 2, 2023
- Where are Rikon drill presses made? - April 1, 2023
- Where are Powermatic drill presses made? - April 1, 2023