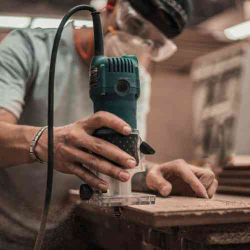
Drilling clean, perpendicular holes is a vital skill in DIY projects that may make a huge difference in the ultimate quality of your work. Drilling straight and precise holes guarantees that your items are structurally strong and visually beautiful and operate as intended in anything from woodworking and metalworking to home repairs and creative crafts.
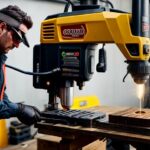
Although a drill press is often used to create exactly perpendicular holes, it is only sometimes available or inexpensive to every DIY enthusiast. Using the correct methods and equipment, you can get comparable results without investing in a drill press.
In this blog article, we’ll walk you through the stages of mastering the art of drilling perpendicular holes with only your trusty power drill and a few useful accessories.
 What is Perpendicular Hole?
Perpendicular holes are drilled to the workpiece’s surface at a precise 90-degree angle. In other words, these holes are parallel and vertical to the surface into which they are bored.
Many DIY crafts, woodworking, metalworking, and construction operations need perpendicular holes to guarantee accurate alignment, structural strength, and a clean, professional look. When putting items together or installing hardware, drilling perpendicular holes is critical because misaligned or slanted holes might damage the overall structure or cause the project to malfunction.
Importance:
- Perpendicular holes offer a strong foundation for screws, bolts, or dowels, ensuring the attached parts stay secure and stable.
- Drilling holes at a precise 90-degree angle ensures that components fit together as intended, ensuring project precision and eliminating gaps or misalignments.
- Perpendicular holes are required for making objects such as furniture, shelves, or equipment to ensure that moving elements move smoothly and the finished result operates as intended.
- Aesthetics: Clean, straight holes contribute to final projects having a polished, professional look, showing the care and attention to detail put into the job.
- Perpendicular holes prevent unequal stress distribution or weak places in a building, lowering the chance of collapse or failure, which might lead to accidents or injuries.
- Reduced Material Waste: Precise drilling of perpendicular holes reduces the likelihood of errors that need repair or replacement of components, thereby saving time and money.
- Drilling perpendicular holes promotes uniformity and consistency throughout the project, adding to a coherent and well-executed final product when working on projects with several holes or components.
List of recommended tools for drilling perpendicular holes:
- A dependable and strong corded or cordless drill is the basis for drilling precise perpendicular holes. Seek a model with adjustable speed and a comfortable grip.
- A bubble level or digital angle gauge may assist in verifying that your drill is perfectly aligned at a 90-degree angle to the workpiece. A bubble level may be connected to or used apart from the drill, but a digital angle gauge offers a precise numerical readout of the angle.
- The speed and combination square may be used to mark and check the drilling site, ensuring that your hole is aligned with the rest of your project. A speed square is convenient when dealing with timber, but a combination square provides more adaptability.
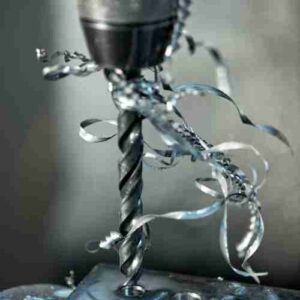
- Drill bits with a brad or centering point are intended for greater precision and cleaner holes. Brad-point bits are perfect for woodworking because their sharp point keeps the bit from straying. Centering bits are made of various materials and have a tiny pilot point for accurate hole placement.
- Clamps or vise: Clamps or a vice to secure your workpiece stops it from moving or twisting while drilling, which is critical for maintaining precision and drilling perpendicular holes.
- A drill guide or jig is a useful device that connects to your drill and guarantees that the bit stays perpendicular to the workpiece. These guides are adjustable to allow a variety of drilling angles.
- Backing board or sacrificial material: Putting a backing board or sacrificial material behind the workpiece prevents tear-out or damage to the material’s backside when the drill bit departs the hole.
 Step-by-Step Guide to Drilling Perpendicular Holes:
A. Marking and measuring the position of the drilling:
Precise measurements: To obtain accurate measurements and identify the exact placement for your hole, use a ruler, tape measure, or combination square.
Make a mark in the center: Mark the center of the hole on the workpiece using a pencil, awl, or center punch. Throughout the drilling operation, this mark will guide your drill bit.
B. Putting the workpiece together:
Fix the workpiece: To avoid movement while drilling, clamp it tightly to a sturdy surface or put it in a vice.
Align the workpiece as follows: Set the workpiece so that drilling is simple and the drill bit does not come into contact with the clamps or vise.
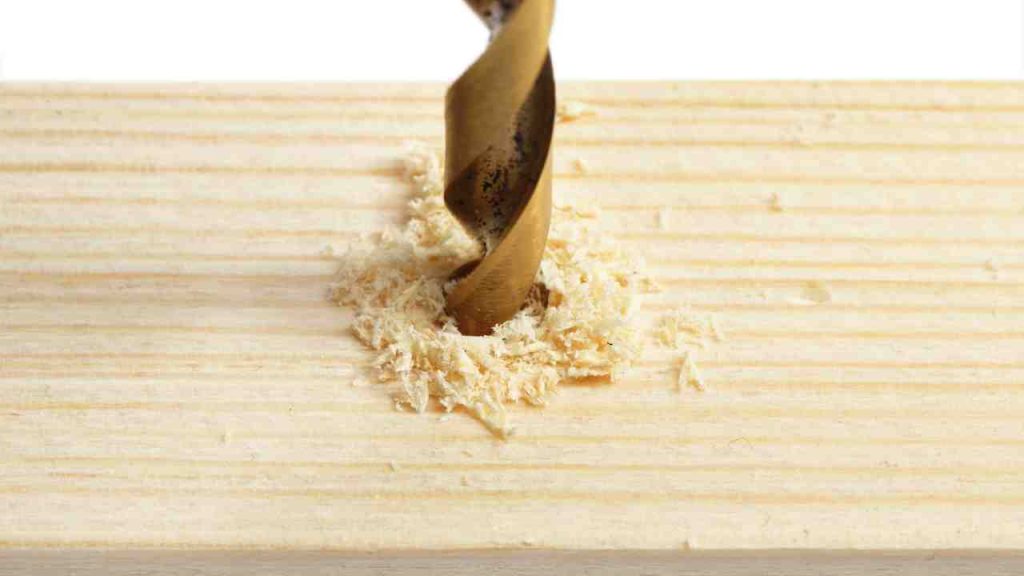
C. Pilot hole drilling:
Choose the proper bit: Use a brad point or centering bit for greater accuracy and a cleaner pilot hole.
Set up the drill: Connect a bubble level or digital angle gauge to the drill, or use a separate level, to verify the drill is parallel to the workpiece.
Begin slowly: Drill slowly to keep the bit from straying, then gradually increase the speed as the bit bites into the material.
D. Finishing the hole:
Change to the proper drill bit: After finishing the pilot hole, change to the appropriate-sized bit for the required hole diameter.
Maintain a steady and aligned drill: Keep the drill aligned using the bubble level or digital angle gauge while providing steady, uniform pressure. Let the drill perform the job instead of driving it through the material.
Remove any debris: To guarantee steady drilling and minimize overheating, periodically pause to take away any debris or chips from the hole.
E. Examining the outcomes:
Examine the hole for cleanliness, precision, and perpendicularity when completed. If required, use a combination square or protractor to check the angle.
Refrain from modifying your setup if the hole is not perpendicular or has other difficulties.
Advantages:
- Precision: A drill press is particularly built to produce consistent, exact holes every time. The fixed alignment of the tool guarantees that the drill bit stays perpendicular to the workpiece throughout the drilling operation.
- Stability: A drill press’s robust base and column offer great stability while drilling, reducing the chance of wobbling or accidental movement. Its steadiness results in more precise and clean holes.
- Adjustable depth stop: Drill presses usually include an adjustable depth stop that enables you to precisely regulate the depth of your hole. This function is very handy when drilling many holes of the same depth to ensure uniformity throughout your project.
- Versatility: Several drill presses include movable tables that may tilt or revolve, allowing you to easily drill holes at different angles. Its adaptability is especially useful while working on complicated projects or with oddly shaped workpieces.
- Speed control: Variable speed drill presses enable you to alter the drilling speed dependent on the material you’re dealing with. This control helps to keep your workpiece or drill bits from overheating, burning, or being damaged.
- Power: Drill presses are often more powerful than handheld drills, making it simpler to drill through thick or hard materials with minimum effort, such as hardwoods or metals.
- Safety: Since the workpiece is firmly secured to the table and the drill bit is maintained constantly from your hands, using a drill press is safer than using a handheld drill.
Tips and Tricks:
A. Making a basic drilling jig for repeatable results:
- Make a bespoke drilling jig out of scrap wood or other material.
- On the jig, cut a V-shaped notch or drill a hole at a precise 90-degree angle.
- Align the notch or hole on your workpiece with your designated drilling point.
- The jig will guide your drill bit during the drilling operation, assisting you in maintaining a perpendicular angle.
B. During drilling, use a mirror to check hole alignment:
- Put up a tiny mirror next to your workpiece, oriented so that you can see the drill bit and hole alignment.
- Check your drill bit in the mirror to verify it is perpendicular to the workpiece.
- Modify your drilling technique as appropriate depending on input from the mirror.
C. Using a sacrificial backing board to prevent tear-out:
- Assemble a backing board out of scrap wood or another material.
- Attach the backing board exactly behind the region of your workpiece where you will be drilling.
- The drill bit will penetrate the backing board as you drill through the workpiece, providing support and avoiding tear-out or damage to the rear of the workpiece.
D. Drilling angled guide holes in advance:
- Pre-drill a shallow guide hole at a 90-degree angle with a smaller drill bit to ensure perpendicularity while drilling into slanted surfaces or edges.
- When you drill the final hole, the guide hole will assist in keeping the bigger drill bit aligned.
E. With a center punch or an awl:
- Before drilling, make a tiny depression at the designated drilling site using a center punch or awl.
- The indentation will assist in guiding the drill bit, keeping it from straying and enhancing hole precision.
Frequently Asked Questions (FAQs)
1. Can I drill a perpendicular hole without a drill press?
Yes, you can drill a perpendicular hole without a drill press by using the correct tools and techniques. A hand drill, level, square, and clamps are some of the essential tools you will need. Follow the step-by-step guide provided in this article to achieve accurate, perpendicular holes.
2. How can I ensure my hand drill is at a 90-degree angle to the workpiece?
You can use a bubble level or digital angle gauge to ensure your hand drill is at a 90-degree angle to the workpiece. Attach the level or gauge to the drill or use it separately to check the alignment during the drilling process.
3. What type of drill bit should I use for drilling perpendicular holes?
For greater accuracy and cleaner holes, use brad-point bits for woodworking or centering bits for various materials. These drill bits have a sharp point or pilot point, which helps keep the bit from straying and ensures precise hole placement.
4. How can I prevent tear-out when drilling a perpendicular hole?
Use a backing board or sacrificial material behind the workpiece to prevent tear-out. The drill bit will penetrate the backing board as you drill through the workpiece, providing support and avoiding tear-out or damage to the rear of the workpiece.
5. Can I use a jig to help me drill perpendicular holes?
Yes, you can make a simple drilling jig from scrap wood or other material with a V-shaped notch or hole drilled at a 90-degree angle. Align the notch or hole with your designated drilling point on the workpiece, and the jig will guide your drill bit during the drilling process, helping maintain a perpendicular angle.
6. What are some tips for drilling angled guide holes in advance?
To drill angled guide holes in advance, pre-drill a shallow guide hole at a 90-degree angle with a smaller drill bit to ensure perpendicularity when drilling into slanted surfaces or edges. The guide hole will help keep the larger drill bit aligned when you drill the final hole.
Final words:
It might be tough to drill perpendicular holes without a drill press, but it doesn’t have to be. You can drill perpendicular holes with only a hand drill and a few easy steps. Begin by marking the drilling location and ensuring that it is level.
Employ a level to ensure the surface is level before inserting the drill bit into the appropriate location. Employ a clamp to keep the drill stable as you begin drilling. After positioning the drill bit, use a square to check it is perpendicular to the surface. With perseverance and practice, you can drill perfectly perpendicular holes with a hand drill.
- Where are WEN drill presses made? - April 2, 2023
- Where are Rikon drill presses made? - April 1, 2023
- Where are Powermatic drill presses made? - April 1, 2023