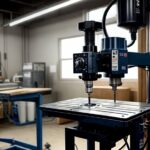
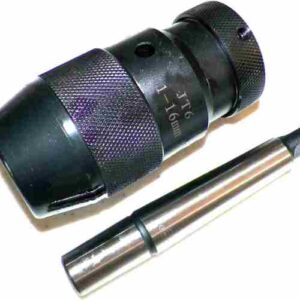
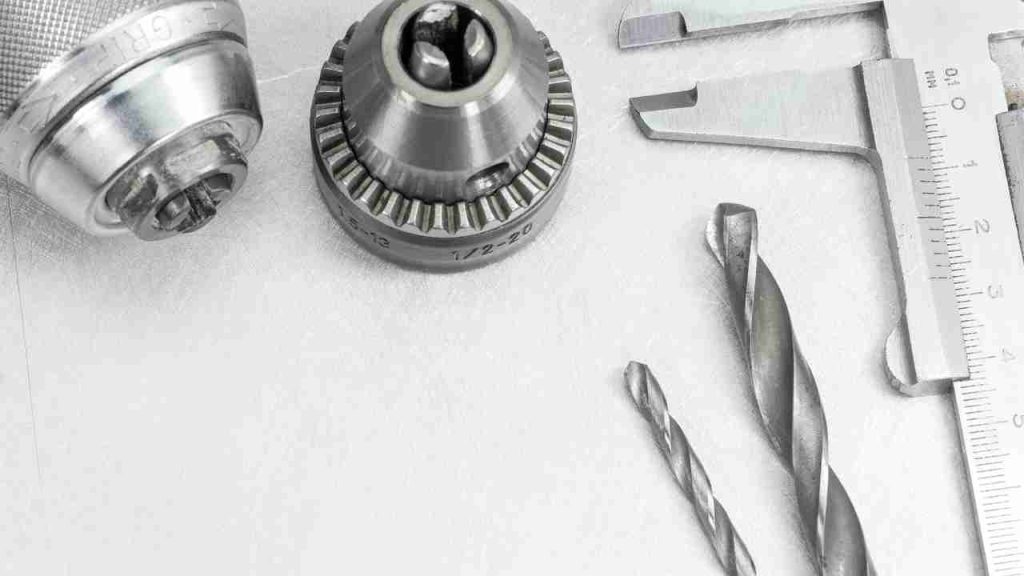
If you like working with tools and machines, you understand the value of having a functioning and dependable drill press. The chuck, which keeps the drill bit in position and enables precision drilling, is one of the most important pieces of a drill press.
Unfortunately, chucks may get broken or worn out over time, necessitating replacement. Removing a chuck from an ancient drill press may be difficult, but it can be simple with the correct equipment and expertise.
In this post, we’ll show you how to securely and successfully remove a chuck from an antique drill press so you can get back to work on your tasks.
 How to remove a chuck from old drill press?
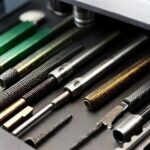
Tools Required:
- Chuck key: A little T-shaped tool that inserts into the chuck and enables you to tighten or loosen it.
- You’ll need an adjustable wrench to grab the chuck securely and spin it off.
- If your chuck is stuck or difficult to remove, a penetrating oil, such as WD-40, will help loosen it up.
- Allen wrench: Certain chucks are fastened with a retention screw that must be removed using an Allen wrench.
- Work gloves protect your hands from sharp edges and scorching surfaces.
- While working with power tools, it is always necessary to wear safety eyewear.
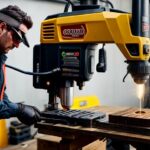
Getting the Drill Press Ready:
Before removing the chuck from your old drill press, ensure the machine is properly prepared to guarantee your safety and the best potential output. These are the actions to take:
- Turn off the power: Before working on your drill press, be sure it is disconnected or the power switch is turned off.
- Lower the drill press table: Drop the table as far as it will go to provide extra workspace.
- Remove the drill bit: If there is a drill bit, turn the chuck key counterclockwise to remove it.
- Lock the spindle: To keep it from revolving while you remove the chuck, lock it in place. Look for a lock button or lever on your drill press and activate it according to the manufacturer’s recommendations.
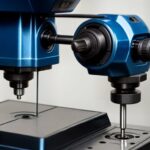
Removing the Chuck from old drill press:
You may remove the chuck once the drill press has been properly prepped. These are the actions to take:
- Remove the holding screw: If your chuck is kept in place by a retaining screw, loosen and remove it using an Allen wrench. To remove the screw from the chuck, turn the wrench counterclockwise.
- If the chuck isn’t locked in place by a retaining screw, you must release it by hitting it softly with a rubber mallet or a piece of wood. This will aid in the removal of any rust or debris that may be clinging to the chuck.
- Use penetrating oil (if necessary): If the chuck is stuck and won’t come off easily, use a penetrating oil like WD-40 to help loosen it up. Spray the oil around the base of the chuck and let it soak in for a few minutes.
- Remove the chuck using a wrench: After it is free, hold it firmly with an adjustable wrench and twist it counterclockwise to remove it from the spindle. Hold on to the chuck securely, so it doesn’t come off and injure you.
Installing a New Chuck:
After successfully removing the old one from your drill press, you’re ready to install a new chuck. These are the actions to take:
- Ensure the spindle is clean and dirt-free before inserting the new chuck. Wipe debris or dust with a clean cloth or a little brush, to eliminate debris or dust.
- Select the right replacement chuck: When shopping for a new chuck, be sure it’s compatible with your drill press. Look for one with the same thread pattern and size as your previous chuck.
- Put the new chuck into the spindle and crank it clockwise by hand until it is tight.
- Tighten the chuck: Use the chuck key to firmly tighten the chuck. Put the key into the chuck and tighten it completely clockwise.
- Test the new chuck: Before operating your drill press with the new chuck, ensure sure it is secure and functional. Insert a drill bit and tighten the chuck, then start the drill press and run it for a few seconds to ensure that the chuck is firmly holding the bit.
Safety tips:
Observing specific safety procedures while removing or replacing a chuck on an antique drill press is essential to minimize injury or damage to your equipment. These are some precautions to take:
- Always turn off the power: To minimize mishaps, ensure your drill press is disconnected or the power switch is switched off before working on it.
- Use adequate safety equipment: Use work gloves and safety glasses to protect your hands and eyes.
- Lock the spindle: When trying to remove or install a chuck, always lock it to prevent it from rotating accidentally.
- Use the proper tools: To prevent harming your drill press or the chuck, use the proper size and kind of equipment for the operation.
- Provide plenty of time: Be patient and don’t hurry the operation, particularly if the chuck is tough to remove. Use penetrating oil and gently tap the chuck to break up any rust or dirt if required.
- Check your work: Before using your drill press with the new chuck, ensure it’s firmly gripping the drill bit and working correctly.
Frequently Asked Questions (FAQs)
What is the purpose of a chuck on a drill press?
The chuck is an essential component of a drill press, as it holds the drill bit securely in place and enables precise drilling. A properly functioning chuck ensures that your drill press operates accurately and efficiently.
How do I know if my drill press chuck needs to be replaced?
Signs that your drill press chuck may need to be replaced include difficulty in tightening or loosening the chuck, wobbling or slipping of the drill bit during operation, and visible wear or damage to the chuck’s jaws or threads. If you experience any of these issues, it’s likely time to replace the chuck.
Can I use any type of chuck on my old drill press?
Not all chucks are compatible with every drill press. When selecting a new chuck, ensure that it has the same thread pattern and size as your previous chuck. Consult your drill press’s user manual or contact the manufacturer for specific compatibility information.
What should I do if the chuck is stuck and won’t come off easily?
If the chuck is stuck and difficult to remove, use a penetrating oil like WD-40 to help loosen it up. Spray the oil around the base of the chuck and let it soak in for a few minutes. You can also gently tap the chuck with a rubber mallet or a piece of wood to help break up any rust or debris that may be causing it to stick.
Is it safe to remove and replace a chuck on an old drill press by myself?
Yes, it is safe to remove and replace a chuck on an old drill press by yourself, as long as you follow proper safety precautions and use the correct tools and techniques. Always turn off the power, wear safety equipment, and ensure the spindle is locked before attempting to remove or install a chuck.
Final words:
Removing a chuck from an antique drill press may seem difficult, but it is a job that can be done safely and successfully with the correct equipment and expertise. You may confidently prepare your drill press, remove the old chuck, and install a new one if you follow the methods explained in this article.
Remember to be patient and take your time, particularly if the chuck is stuck or difficult to remove. Always follow the manufacturer’s instructions and safety measures to guarantee your safety and the correct operation of your drill press.
Using the proper equipment and procedures, you can easily remove and replace a chuck on an old drill press. You can continue tackling your future jobs with accuracy and efficiency.
- Where are WEN drill presses made? - April 2, 2023
- Where are Rikon drill presses made? - April 1, 2023
- Where are Powermatic drill presses made? - April 1, 2023