You’re at your workshop, eager to begin a new woodworking job, and you grab for your reliable drill press. As you start drilling, you notice the press wobbling and the noise and vibrations have you feeling like you’re in the middle of an earthquake.
This is not only inconvenient, but it may also be hazardous! You’ve come to the correct spot to increase your drill press’s stability, safety, and precision. This detailed tutorial will lead you through the procedures necessary to securely bolt down your drill press, providing a smooth and safe drilling experience for all future jobs.
Say goodbye to wobbles and misaligned holes, and welcome to the world of workshop accuracy and safety!
Benefits of Bolting Down a Drill Press:
- Improved Stability: Bolting your drill press to the floor securely attaches it to the floor, decreasing wobbles and movement and resulting in a more steady drilling experience.
- Increased Accuracy: A secured drill press assures constant and precise drilling, helping you achieve better alignment and more accurate project outcomes.
- Improved Safety: A bolted drill press reduces the possibility of mishaps during operation, such as tipping or moving, keeping you and others in the workplace safe.
- Reduced Noise and Vibration: Anchoring the drill press to the floor dampens vibrations and minimizes noise, resulting in a more calm and pleasant working environment.
- Longer Tool Life: By decreasing vibrations and preserving stability, bolting down your drill press may help avoid excessive wear and tear, increasing the lifetime of your equipment.
- Boosted Efficiency: A solid and steady drill press lets you to work quicker and more effectively, avoiding mistakes and the need for rework or changes.
- Professional Results: A bolted drill press allows you to create better quality work with enhanced precision and stability, providing your projects a professional finish.
 Tools and Materials Needed:
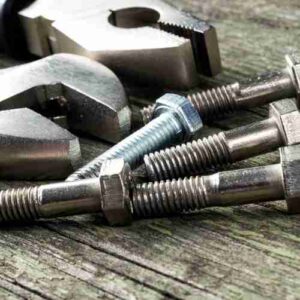
- Wrench or socket set: This is required for tightening the nuts and bolts that hold the drill press to the floor.
- You’ll need a tape measure to measure and mark the exact placements for the bolts or anchors on the floor.
- A level ensures that your drill press is aligned and equal, minimizing uneven wear and enhancing overall accuracy.
- Drill with a masonry bit (if necessary): If you’re dealing with a concrete floor, you’ll need a power drill and a masonry bit to drill the concrete anchor holes.
- A hammer may be used to place concrete anchors into drilled holes or to pound bolts into hardwood flooring.
- Concrete or wooden floor: The floor type will determine the kind of bolts or anchors you’ll need to secure your drill press.
- The basic components for securing your drill press are bolts, washers, and nuts. Choose the proper size and kind based on your floor material and the manufacturer’s recommendations.
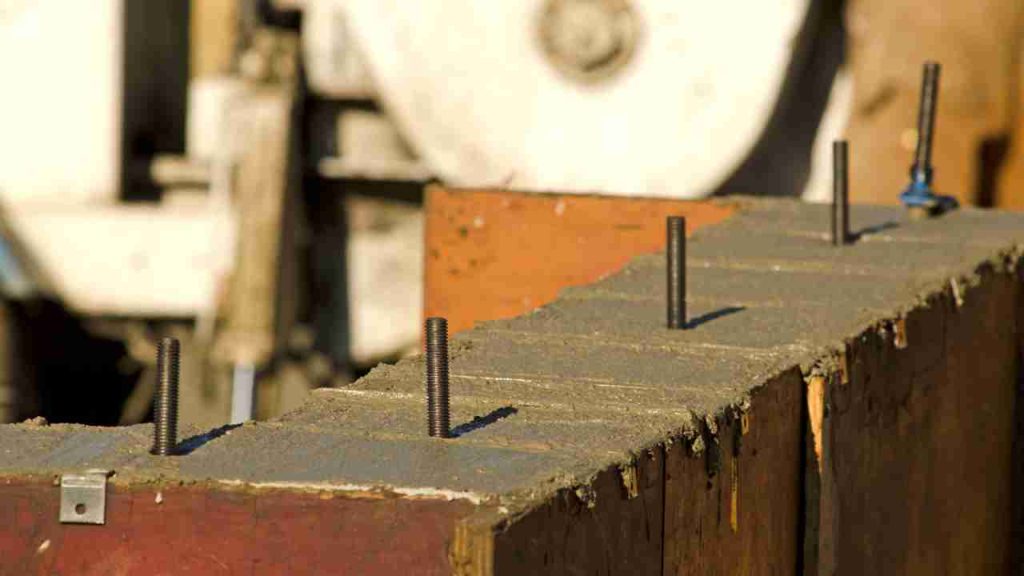
- Concrete anchors (if necessary): Concrete anchors will be required if you attach your drill press to a concrete floor.
Instructions: how to bolt down a drill press?
- Put the drill press in the preferred area inside your workshop, making sure it is conveniently accessible, close to a power source, and has enough room for mobility and material handling.
- Label the bolt holes as follows: With the drill press in place, use a tape measure and a marker to mark each bolt hole’s location precisely. The precise positions may be found on the drill press base.
- Drill the holes as follows: a. Use a common drill bit for a hardwood floor to make holes for the bolts. Make the holes slightly smaller than the bolt diameter to ensure a tight fit. a. Drill holes for concrete anchors in a concrete floor using a masonry bit. Check that the holes are slightly deeper than the length of the anchor.
- Attach the bolts or anchors as follows: a. Insert them into the drilled holes and gently tap them in with a hammer for a hardwood floor. Put washers and nuts on the exposed bolt ends. a. Insert the concrete anchors into the drilled holes on a concrete floor, tapping them in with a hammer if required. Align the holes in the base with the anchors and place the drill press over them. Install the bolts, then the washers and nuts.
- Level the drill press: Set a level on the drill press table or base and adjust the drill press position until it is exactly level. This process guarantees even wear and increases drilling precision.
- Fasten the bolts or anchors: With the drill press level, tighten the nuts on the bolts using a wrench or socket set (or anchors for a concrete floor). Overtightening may cause damage to the drill press or the floor.
Tips and Best Practices:
- Choose the appropriate bolts or anchors: Use bolts or anchors appropriate for your floor type (wood or concrete) and fulfill the manufacturer’s size and strength requirements.
- Check your measures twice: Check your measurements and marks twice before drilling holes to guarantee appropriate alignment and to prevent causing additional damage to your floor.
- Ensure the area where the drill press will be installed is clean and clear of debris, which might interfere with leveling and produce an unstable foundation.
- Optional: Employ a torque wrench: Consider utilizing a torque wrench if you’re unclear about how much power to use while tightening the bolts. This tool guarantees that the required tension is achieved without overtightening or causing damage.
- Maintenance regularly: Check the tightness of the bolts or anchors regularly to ensure the drill press stays secure and stable throughout time. If necessary, tighten again.
- Anti-vibration pads or mats: Consider installing anti-vibration pads or mats beneath your drill press to decrease noise and vibrations. They may absorb and attenuate vibrations, making the workplace more pleasant.
- Follow the manufacturer’s instructions: Specific tips for fastening down and maintaining your drill press may be found in the manufacturer’s instructions.
Frequently Asked Questions (FAQs):
1. Can I use my drill press without bolting it down?
Yes, you can use your drill press without bolting it down. However, it is not recommended as it can lead to wobbling, decreased accuracy, increased noise and vibration, and a higher risk of accidents. Bolting your drill press down significantly improves stability, safety, and precision.
2. What type of bolts or anchors should I use for my drill press?
The appropriate bolts or anchors for your drill press depend on the type of floor you have (wood or concrete) and the manufacturer’s recommendations for size and strength. Always consult the drill press manual for specific guidelines.
3. Do I need to use a torque wrench when tightening the bolts?
Using a torque wrench is optional but can be helpful if you are unsure about the appropriate amount of force to use while tightening the bolts. A torque wrench ensures the correct tension is achieved without overtightening or causing damage.
4. How often should I check the tightness of the bolts or anchors?
It is advisable to regularly inspect the tightness of the bolts or anchors to ensure the drill press remains secure and stable over time. If necessary, tighten them again. The frequency of these checks depends on your drill press usage, but a general rule of thumb is to check them at least once every few months.
5. Can I use anti-vibration pads or mats instead of bolting down my drill press?
Anti-vibration pads or mats can be used in addition to bolting down your drill press to further reduce noise and vibrations. They can absorb and dampen vibrations, making the workspace more comfortable. However, they should not be used as a substitute for properly anchoring your drill press to the floor.
6. Can I move my drill press after bolting it down?
Yes, you can move your drill press after bolting it down. However, you will need to remove the bolts or anchors from the floor, relocate the drill press to the desired location, and then repeat the bolting process to ensure the drill press remains stable, safe, and accurate in its new position.
7. How do I know if my drill press is level after bolting it down?
To check if your drill press is level after bolting it down, place a level on the drill press table or base and adjust the drill press position until it is perfectly level. This process ensures even wear and improves overall drilling accuracy.
Final words:
Bolting down your drill press is a simple but critical step in improving your workshop operations’ safety, stability, and precision. You will not only lengthen the life of your drill press by properly anchoring it, but you will also enhance the overall quality of your projects.
With the simple instructions, ideas, and best practices discussed in this piece, you’re now prepared to undertake this work confidently.
So, roll up your sleeves, grab your tools, and make your workplace a safer and more efficient environment for all your future drilling projects!
- Where are WEN drill presses made? - April 2, 2023
- Where are Rikon drill presses made? - April 1, 2023
- Where are Powermatic drill presses made? - April 1, 2023


